
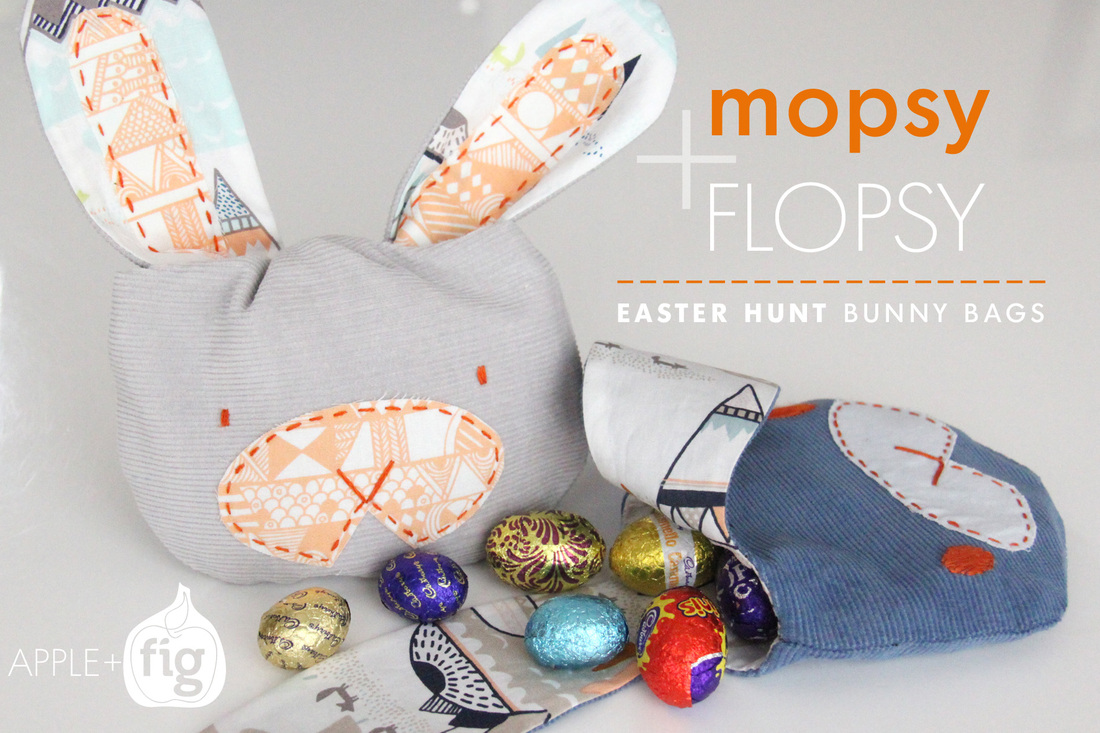
EASTER IS UPON US!
It's that time of year when my children get super excited and all the chocolate restrictions get thrown out the window! It's the time of year we celebrate new life...
… When I tell my children about the story of Jesus who was persecuted and died on the cross so that we can have everlasting life and freedom. A time when I teach my children the fundamentals of sharing. (And ultimately 'sacrifice' when they generously share their easter goodies with everyone... mummy likes chocolate too! hehe)
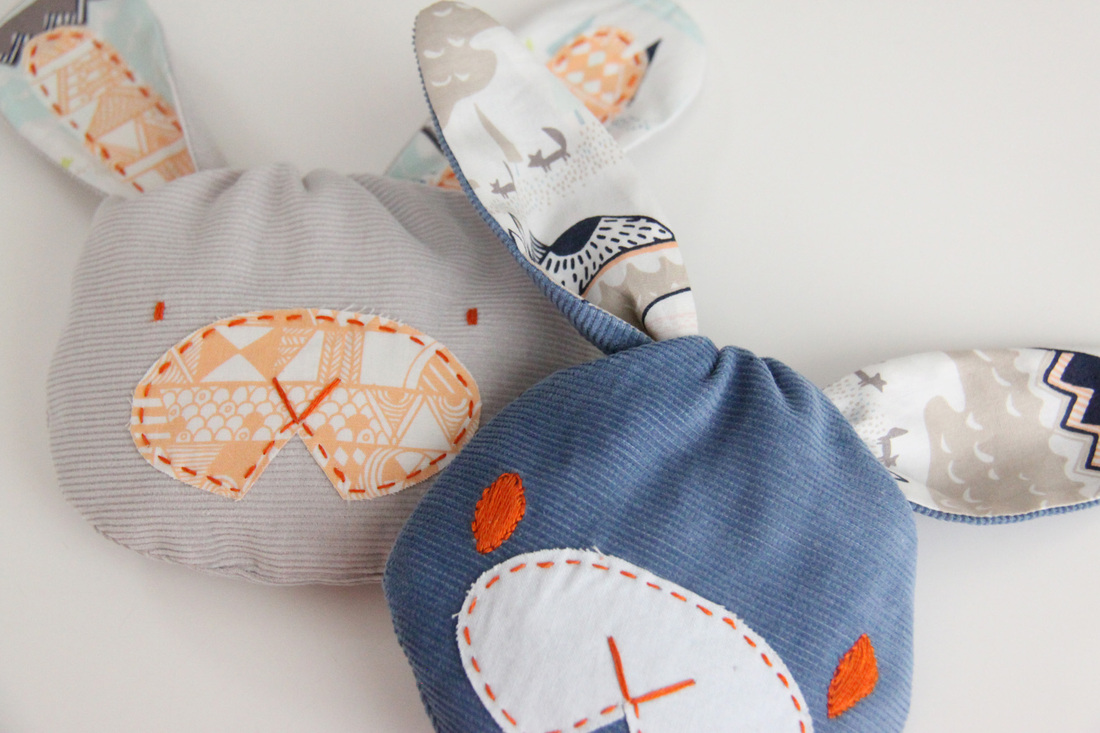
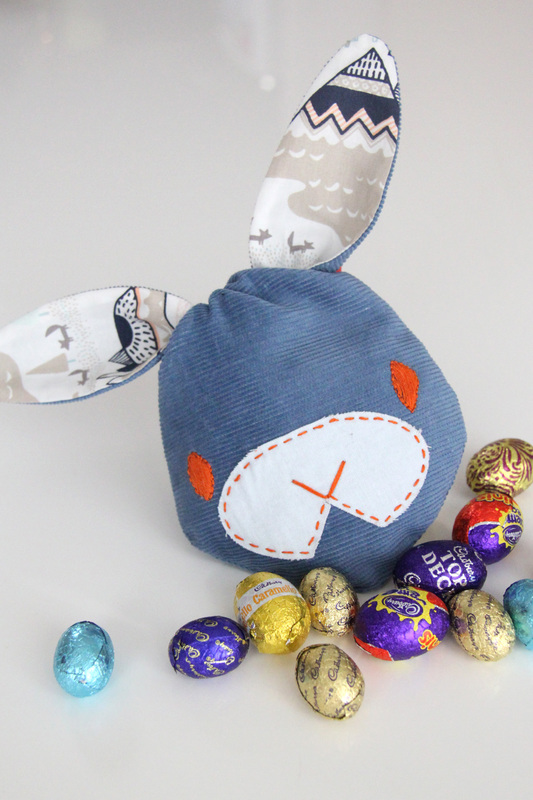 I love the unique yet simple style of the tie up bag and went about drawing some ideas of my own… ^ MOPSY: a reliable, diamond faced bunny with tapered ears. > FLOPSY: a cheeky, wide faced bunny with long rounded ears. | Each year, I try to add a little 'non chocolate' gift to the kiddies little package. I love anything unique and handmade and this year I went in search of a little project to help in the 'hunt'. I came across a sweet tutorial from 'Stitched by Crystal' for some DIY Bunny Treat Bags with cute tie up ears... PERFECT!! You can see Crystals original tutorial > here < 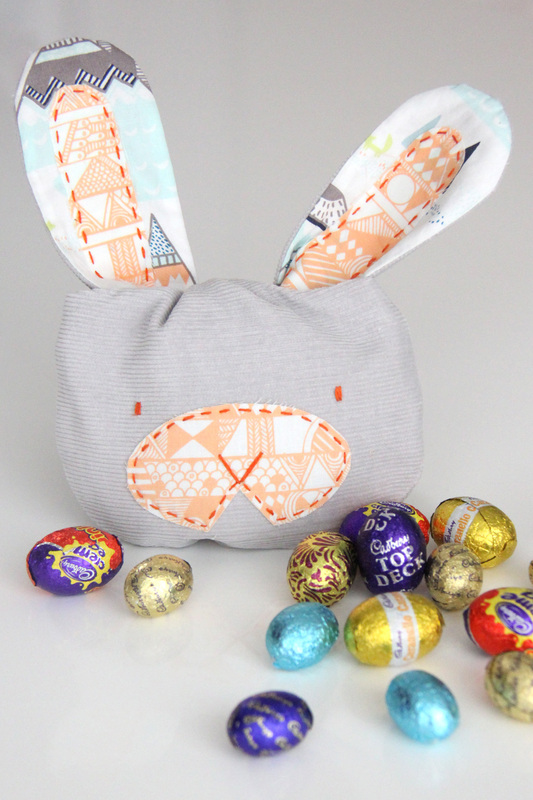 |
WARNING: These Bunny bags are addictive!
They are quick to whip up, use very little materials and you can be
as creative as you like… You won't want to stop at one!
FIRST… You will need to download the patterns.
'MOPSY' |
| 'FLOPSY' |
| ||||
| YOU WILL NEED:
| OPTIONAL (For face and ear detail):
|
LET'S GET STARTED!
| Print out the pattern piece(s) and cut out the pattern template along the cutline. 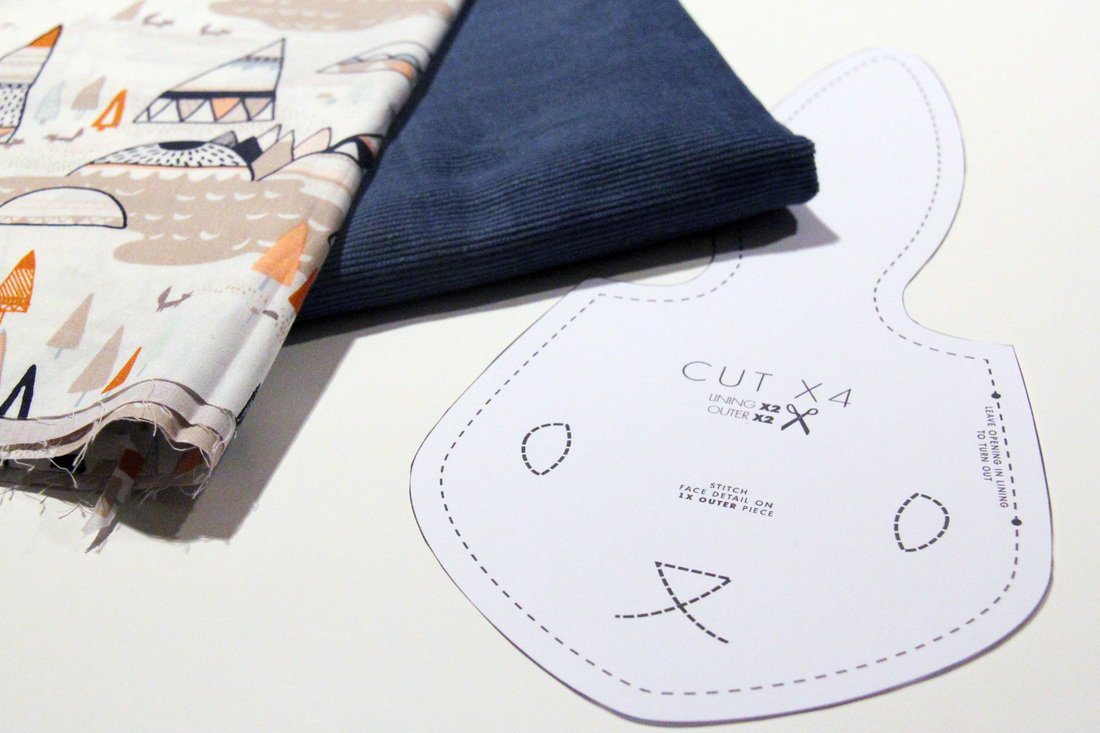 | Fold the fabric over. Pin/trace/cut the pattern piece(s) out. You will end up with two identical pieces. Repeat for the contrast (lining) fabric. 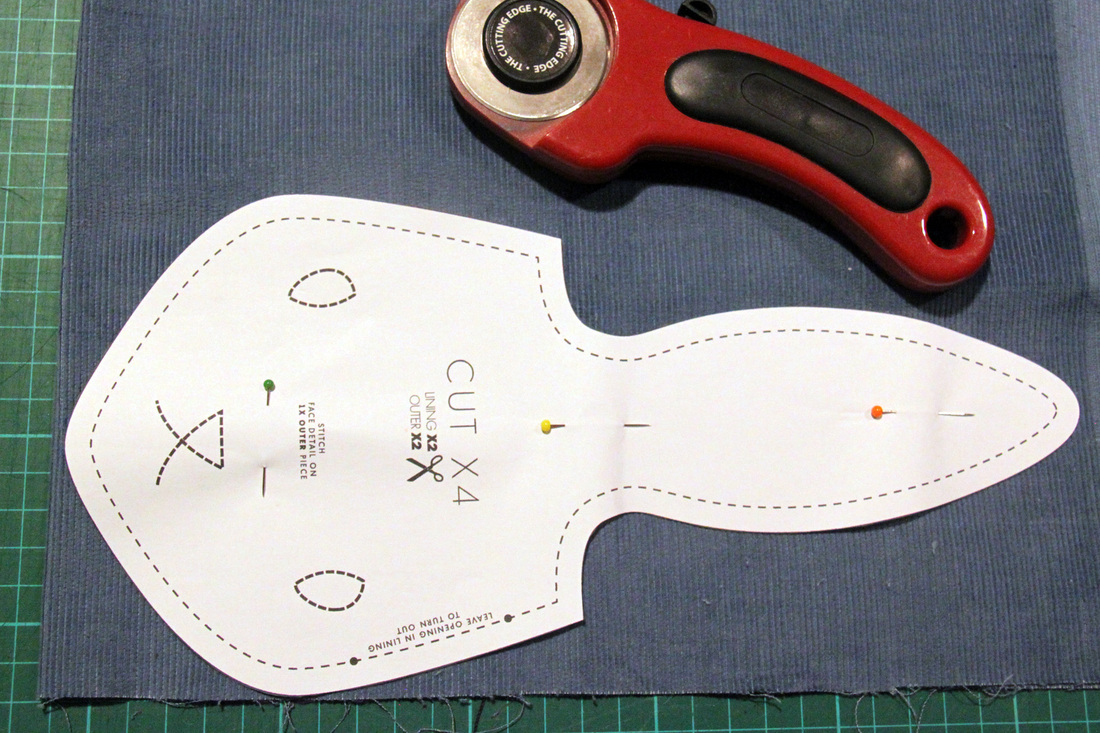 |

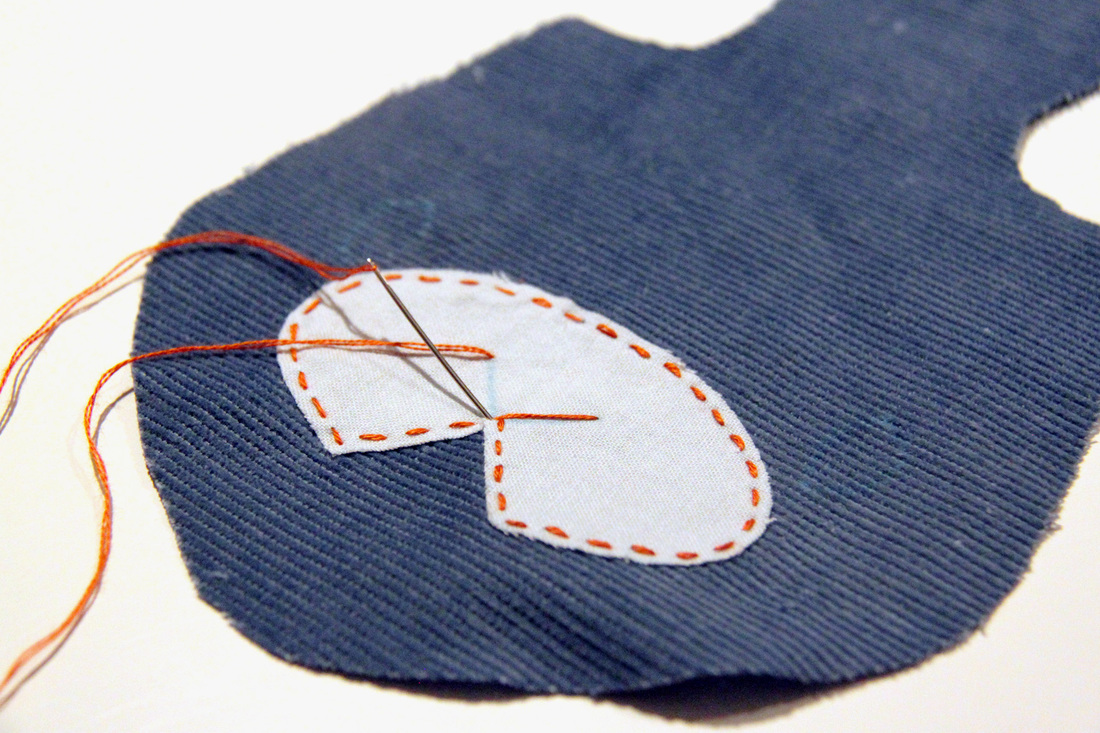
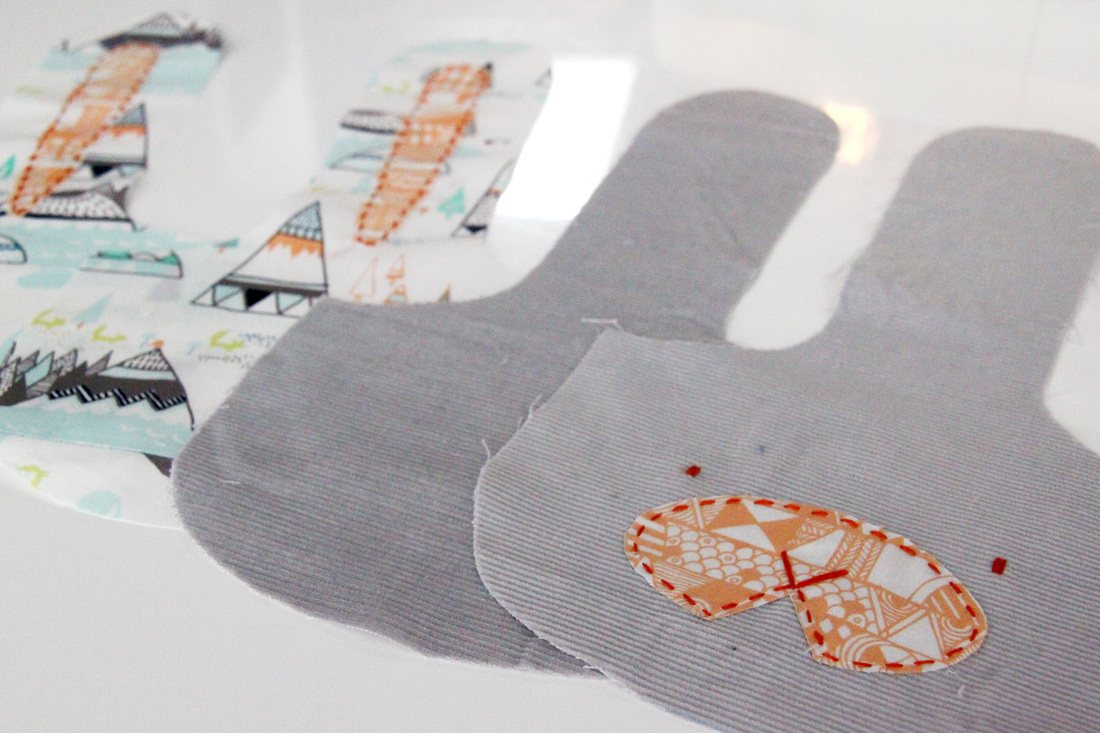
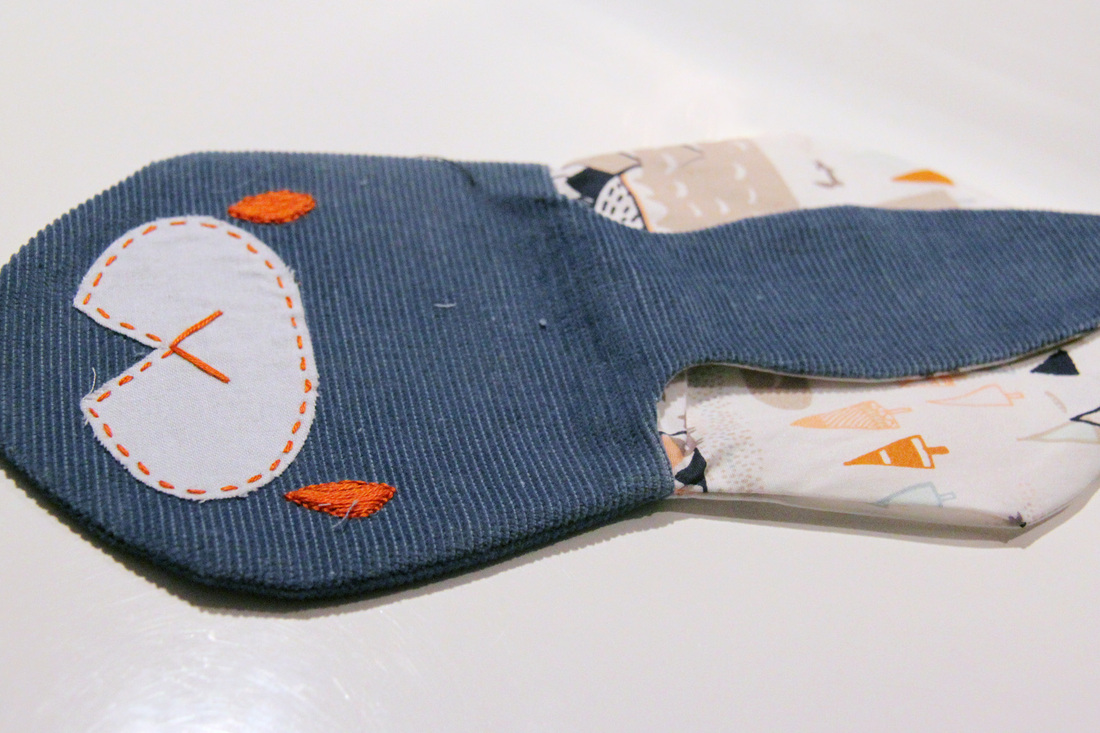
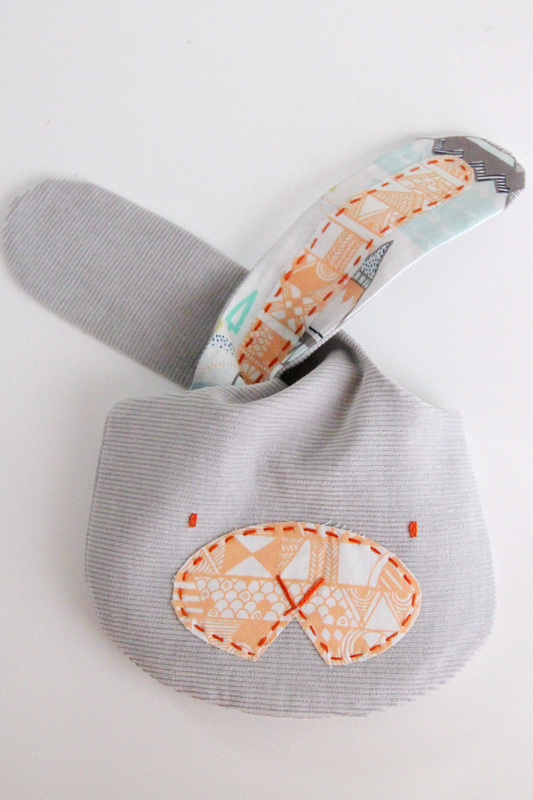
Next add the bunny face detail to ONE of the outer pieces. You could also add a pom pom or tail to the other outer piece.
(Add the ear detail to both of the LINING pieces if you are creating a FLOPSY bunny bag).
(Add the ear detail to both of the LINING pieces if you are creating a FLOPSY bunny bag).
 |  |
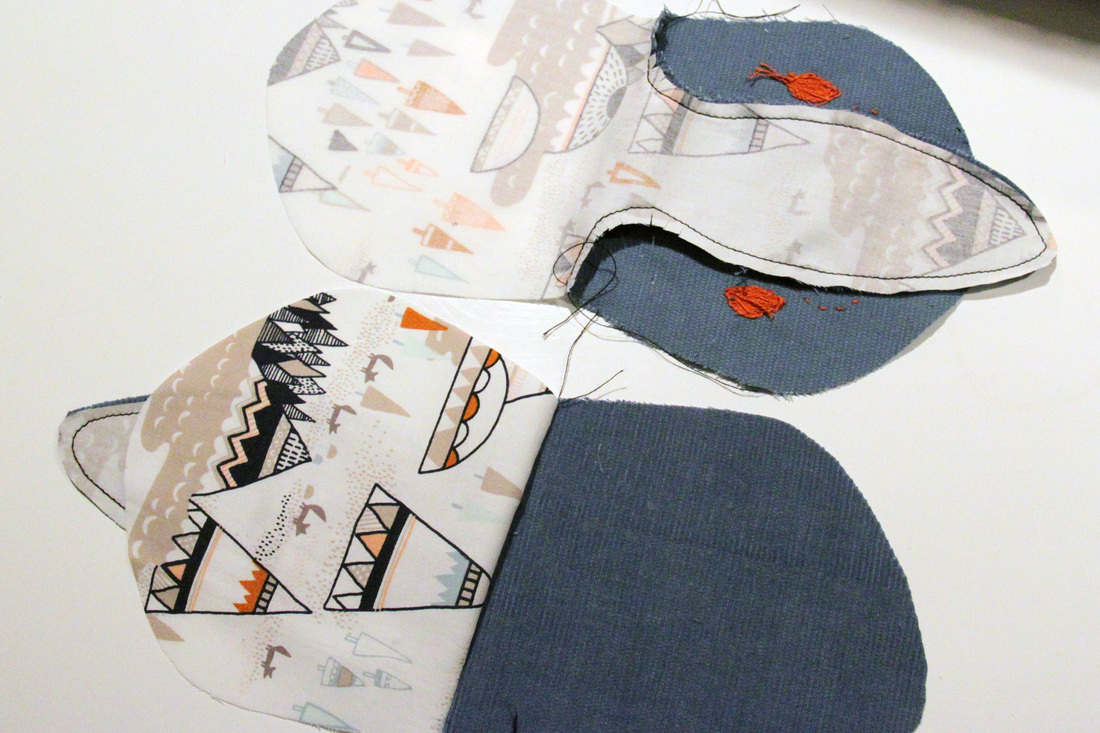
With the right sides of your outer fabric facing up towards you, place the lining pieces over the top, facing down.
Stitch along the top edge (ears).
Stitch along the top edge (ears).
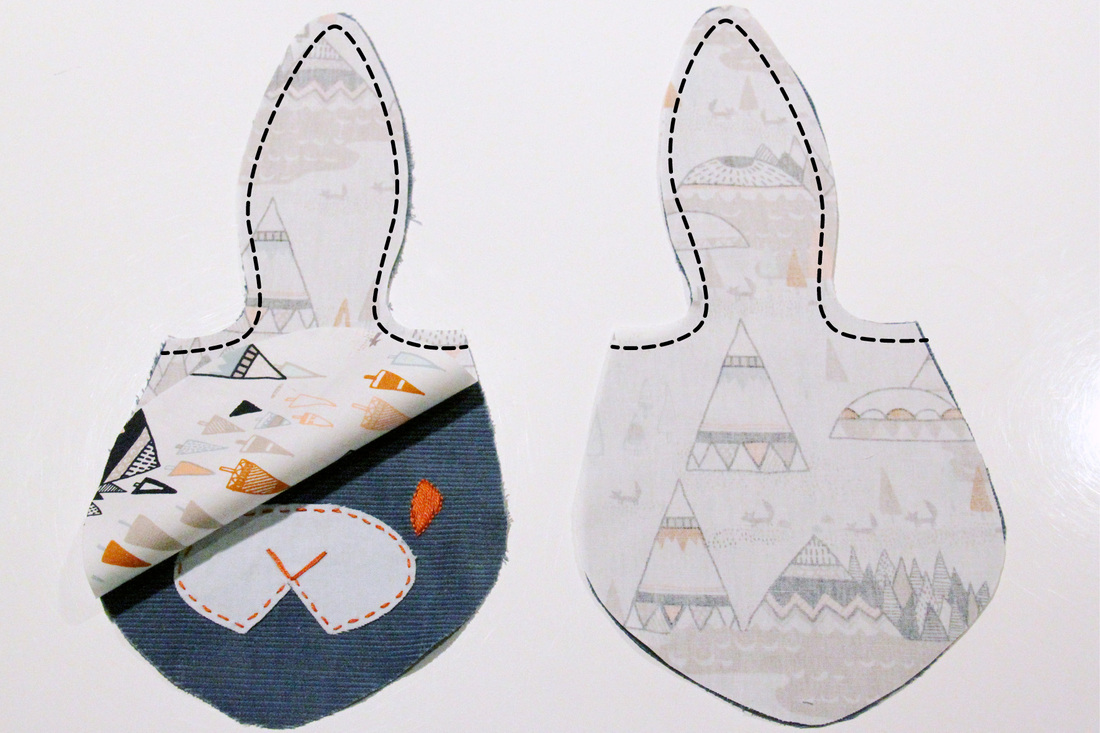
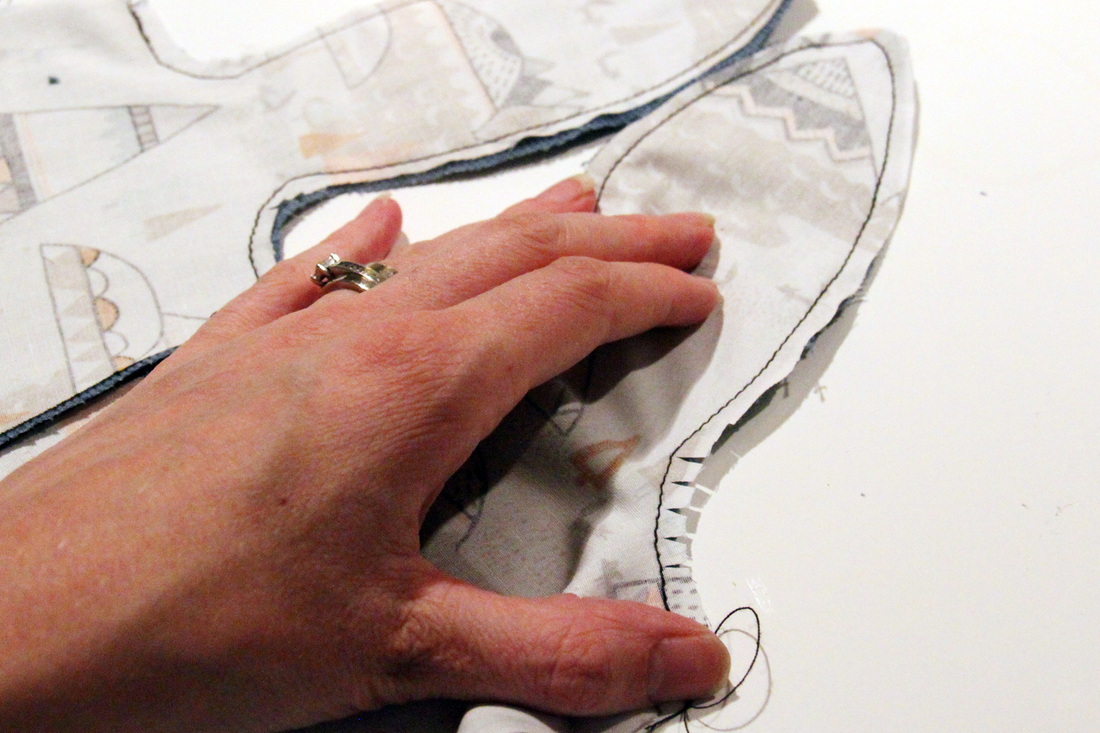
Clip the inside curves of the ears. This will help create a smooth curved edge once you turn the bag right side out.
Do this by carefully snipping into the seam allowance close to the seam without cutting through your stitching.
Do this by carefully snipping into the seam allowance close to the seam without cutting through your stitching.
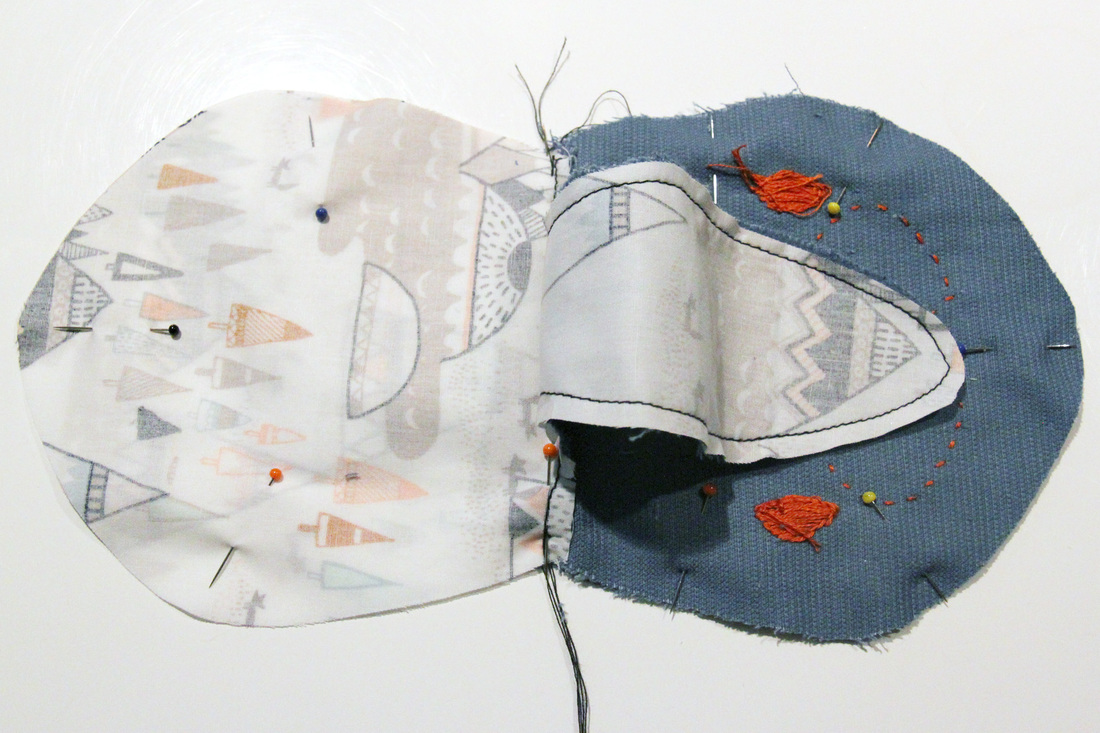
Open up the pieces and lay them on top of one another making sure the seams
where the lining joins to the outer body match on both the top and bottom pieces. Pin in place.
where the lining joins to the outer body match on both the top and bottom pieces. Pin in place.
 |  |
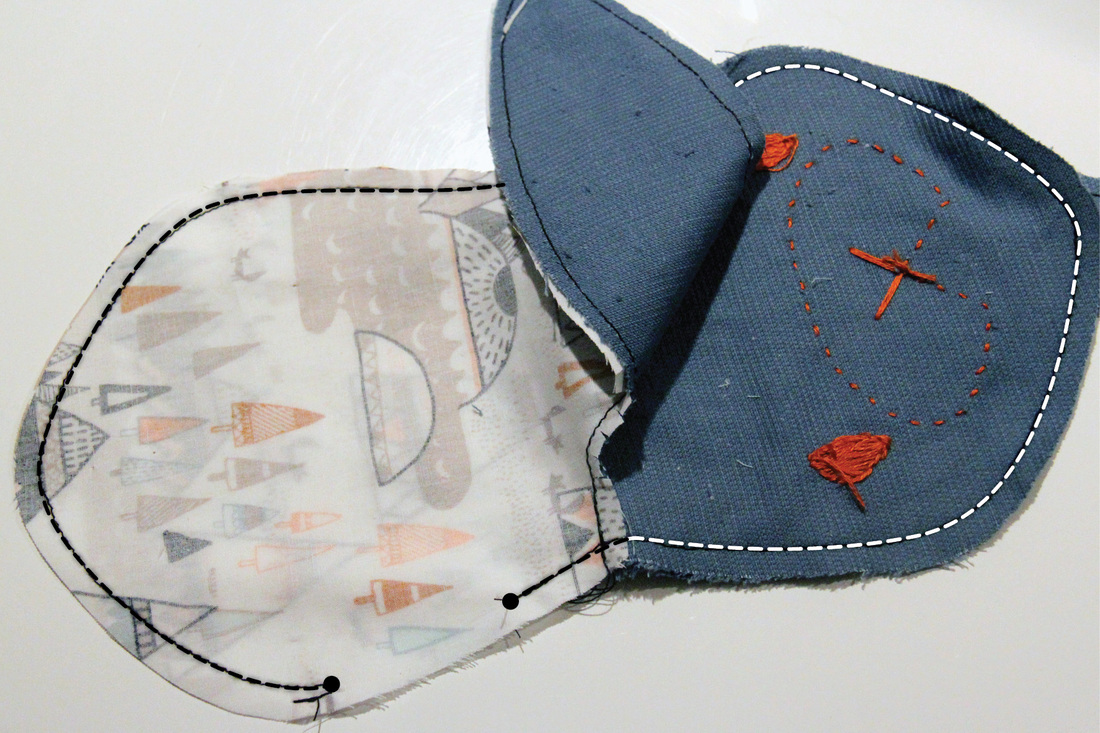
Sew all the way around the outside edge, leaving a small opening on the lining side as indicated on the pattern template.
Make sure you tuck the ears in, out of the way as you sew.
Make sure you tuck the ears in, out of the way as you sew.
Use the small opening to turn the bag right side out (I pull the ears through first to make it a little easier).
Smooth out the seams and press with an iron.
Smooth out the seams and press with an iron.
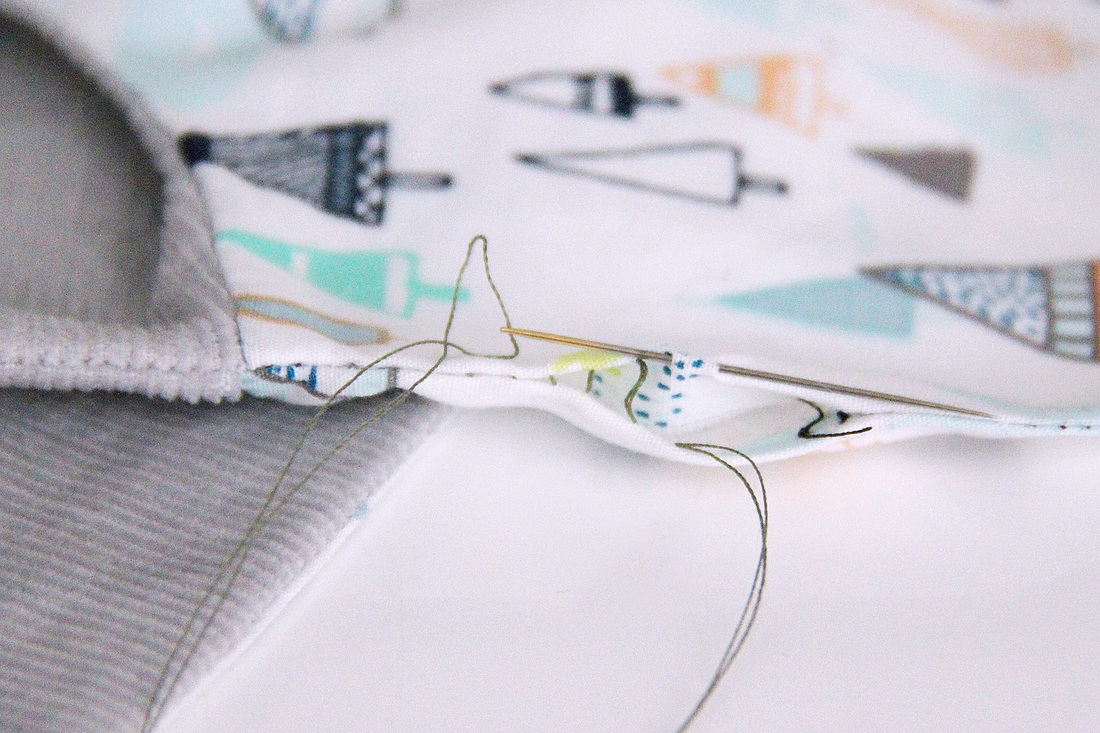
Hand sew the small opening closed using a slip stitch OR machine stitch close to the edge.
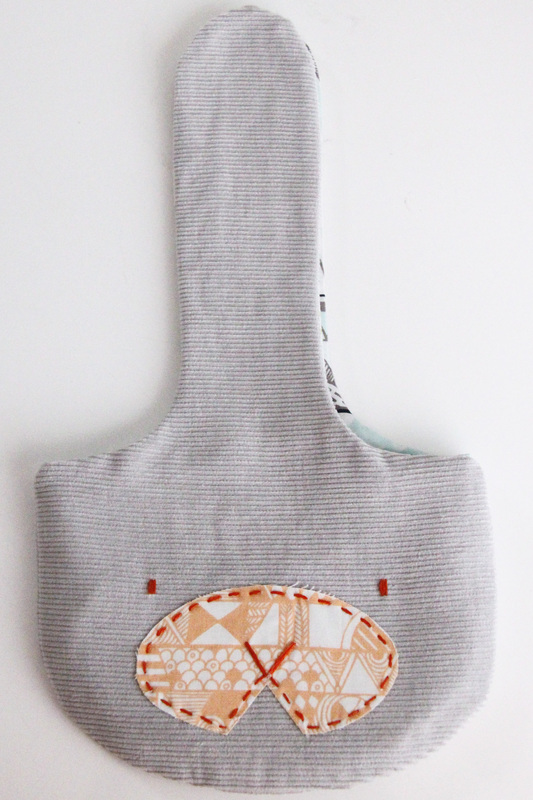
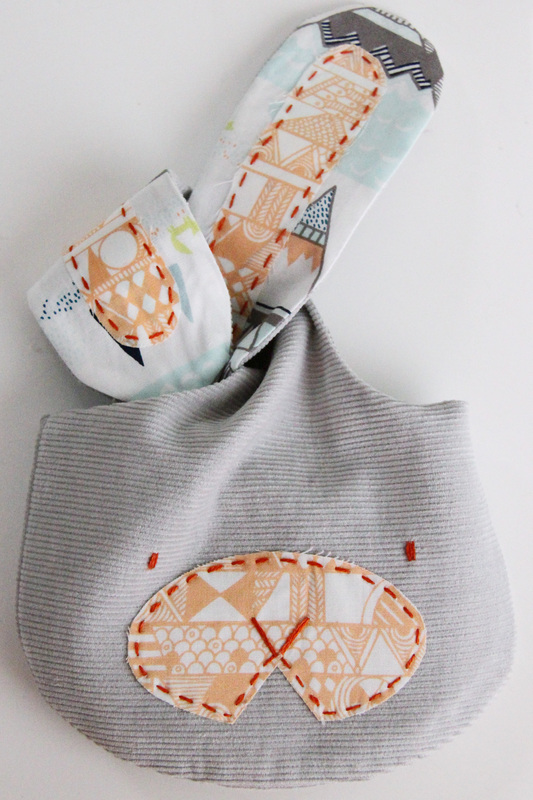
Push the lining down into the outer bag and VOILA!
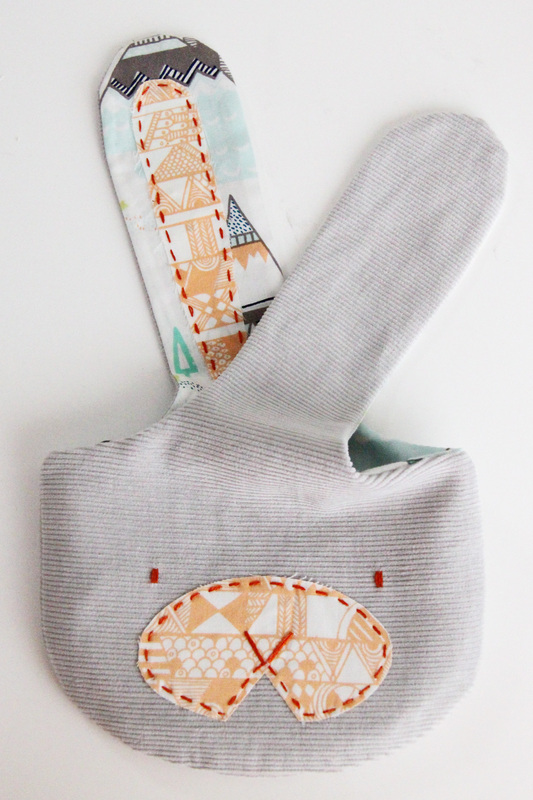
Your Bunny Bag is now ready for hunting or filling with small treats!!
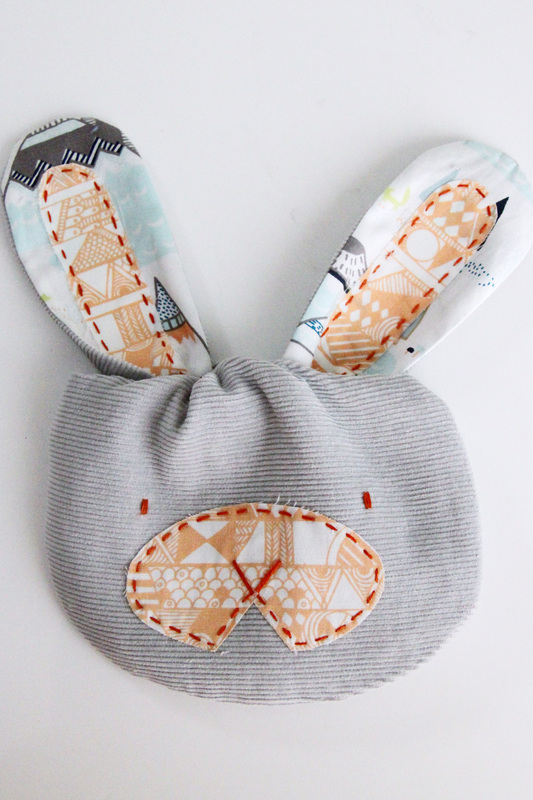
TO CLOSE THE BAG, TIE THE EARS LIKE THIS…
 |  |  |  |
 |  |
Please stop by our Facebook Page or join our Facebook Group to share your MOPSY + FLOPSY creations.
I'm looking forward to seeing your take on our Easter Hunt Bunny Bags!
I'm looking forward to seeing your take on our Easter Hunt Bunny Bags!


 RSS Feed
