
THEY CALL ME MUMMY MILK BAR!
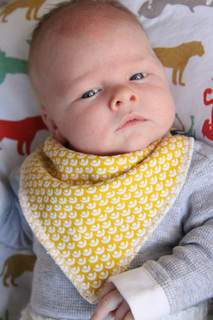
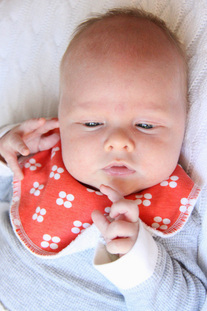
We have recently welcomed to the world our third precious son...
he is a chubby little man with a BIG appetite and doesn't mind making a mess of feedtime either!
he is a chubby little man with a BIG appetite and doesn't mind making a mess of feedtime either!
My darling husband refers to me as 'Mummy Milk Bar' and I'd never really thought much about the phrase until now!
I have always considered myself blessed to have an abundant supply of breastmilk (despite my humble size!) yet with the 'let down' comes a whole heap of coughing and spluttering with milk exploding from his mouth and covering us both!
This time round, I'm also mix feeding with a bottle – and the same thing – milk pouring from his mouth, down his neck and all over our clothes! Not to mention the gush of excess milk that doesn't quite make it to his already full tummy when it's time to burp and the sore little creases that soon develop if I havn't wiped it away properly from his chubby little neck.
I have always used bibs but find the store bought ones are too big in the neck opening for little ones who aren't yet on solids and too narrow across the shoulders that it misses the little sicky burps and it kind of defies the purpose of what I'm needing it for – I also have an abundance of towelling nappies which do cut it in the burping department but, let's be honest, not the most attractive thing that seems to be permanently attached to my neck!
So here's where the 'Mummy Milk Bar' Essentials comes in!
I've created a PDF pattern bundle of 'must haves' for newborns (and bigger babies for that matter!)
It contains the following essentials that all Mummy Milk Bar's should have on hand at feedtime:
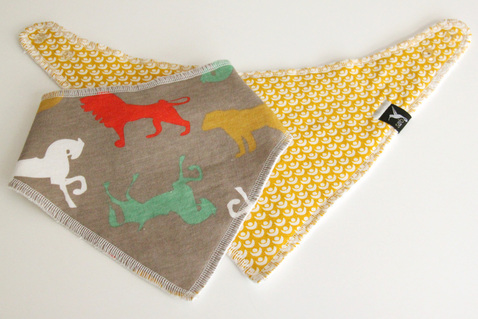
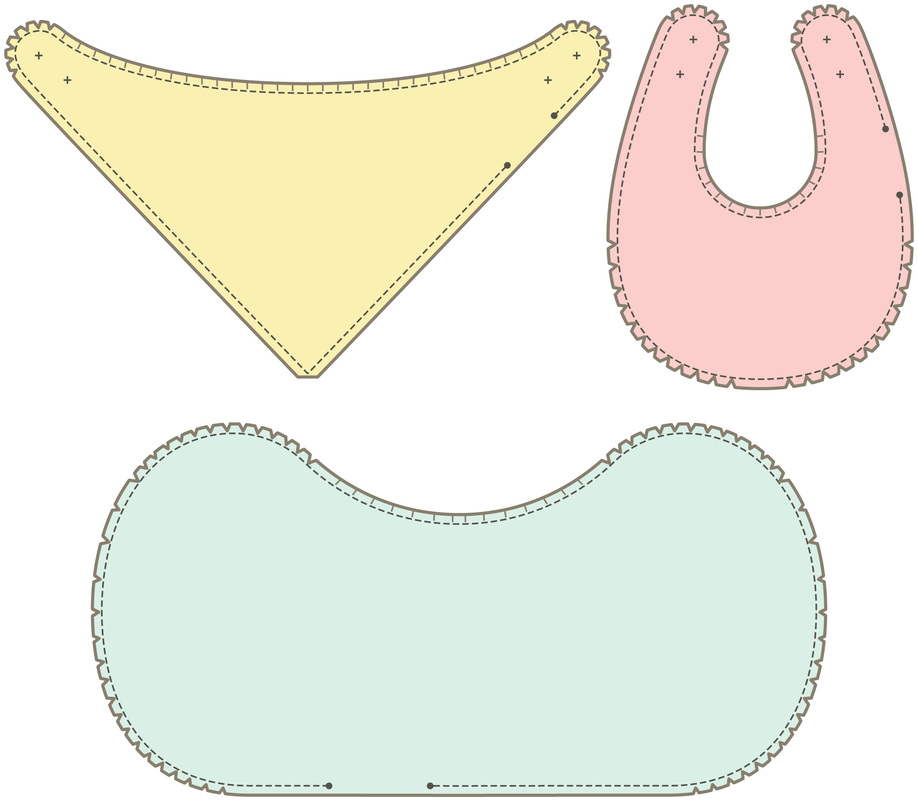
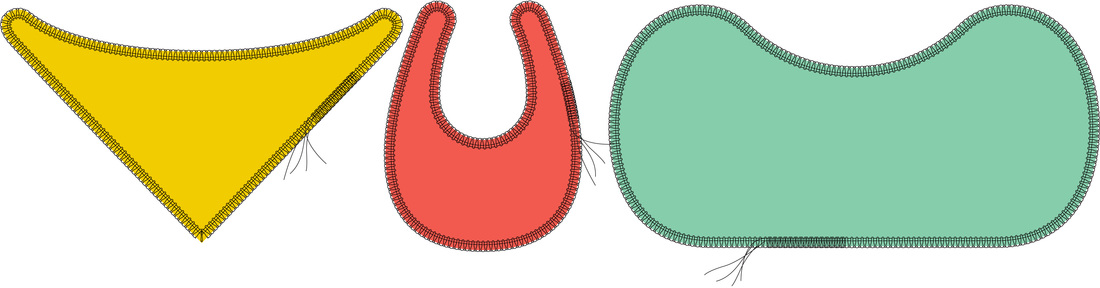
DROOLER // Bandana Bib
2 sizes – BABY + TODDLER
Traditional bandana style bib - Practical and stylish addition to jazz up any outfit!
Traditional bandana style bib - Practical and stylish addition to jazz up any outfit!
 |  |
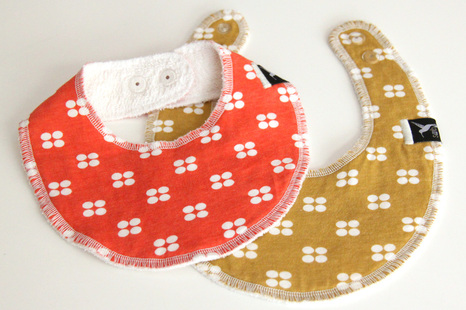
DRIBBLER // Dribble Bib
2 sizes – BABY + TODDLER
Shallow dribble bib with wide shoulders - Perfect for everyday
Shallow dribble bib with wide shoulders - Perfect for everyday
 |  |
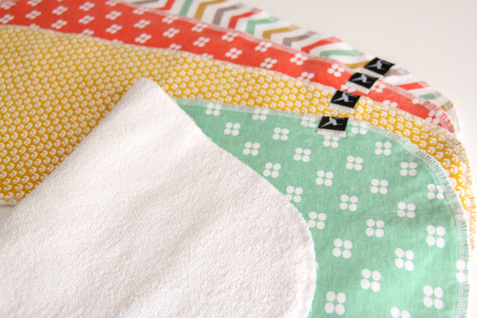
SPEWY BABY // Burp Cloth
ONE SIZE
Ergonomic design to sit comfortably on the shoulder, contouring to the neck with wide ends
to catch the mess and save your outfit!
Ergonomic design to sit comfortably on the shoulder, contouring to the neck with wide ends
to catch the mess and save your outfit!
 |  |
The 'Mummy Milk Bar' Bundle is available to purchase >> HERE <<
Please note – you are purchasing the patern pieces only – you can read on for the very simple tutorial!
Why purchase the bundle when there are so many free tutorials out there?
Because I'm confident with the sizing and fit of these bibs/cloths, they are BEAUTIFULLY and clearly illustrated
AND by purchasing the patterns, you have free license to sell the products you make using our patterns!*
*(May not be mass produced - for small handmade businesses and home sewers only)
PLUS...
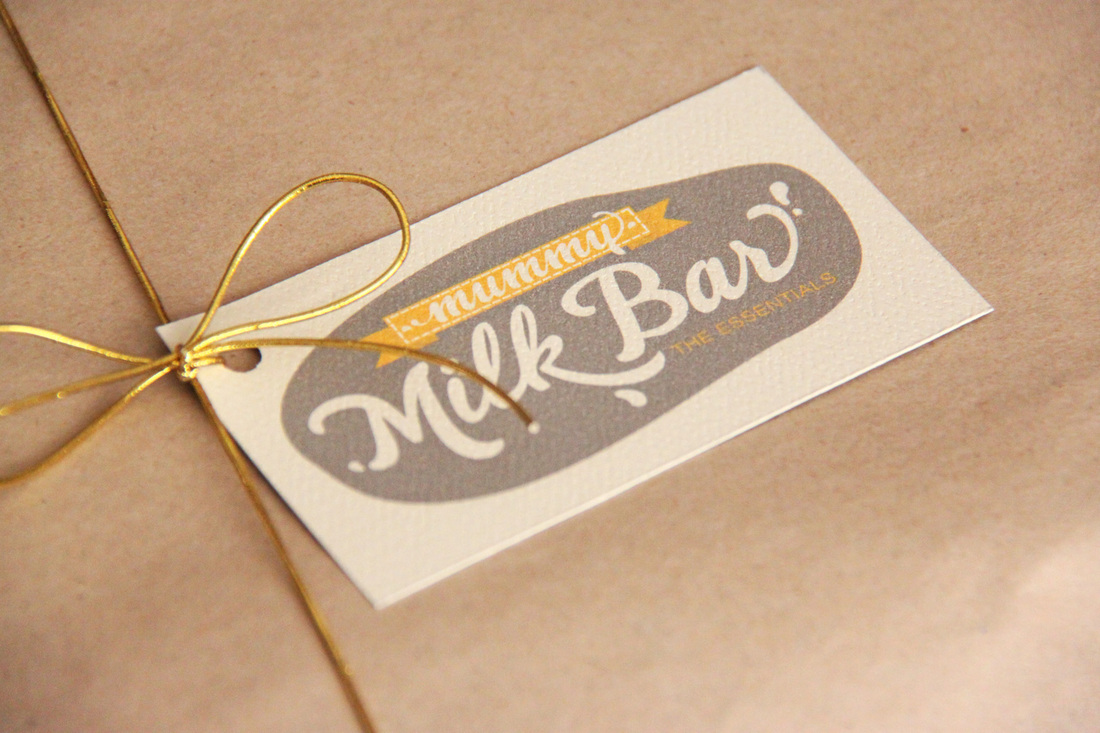
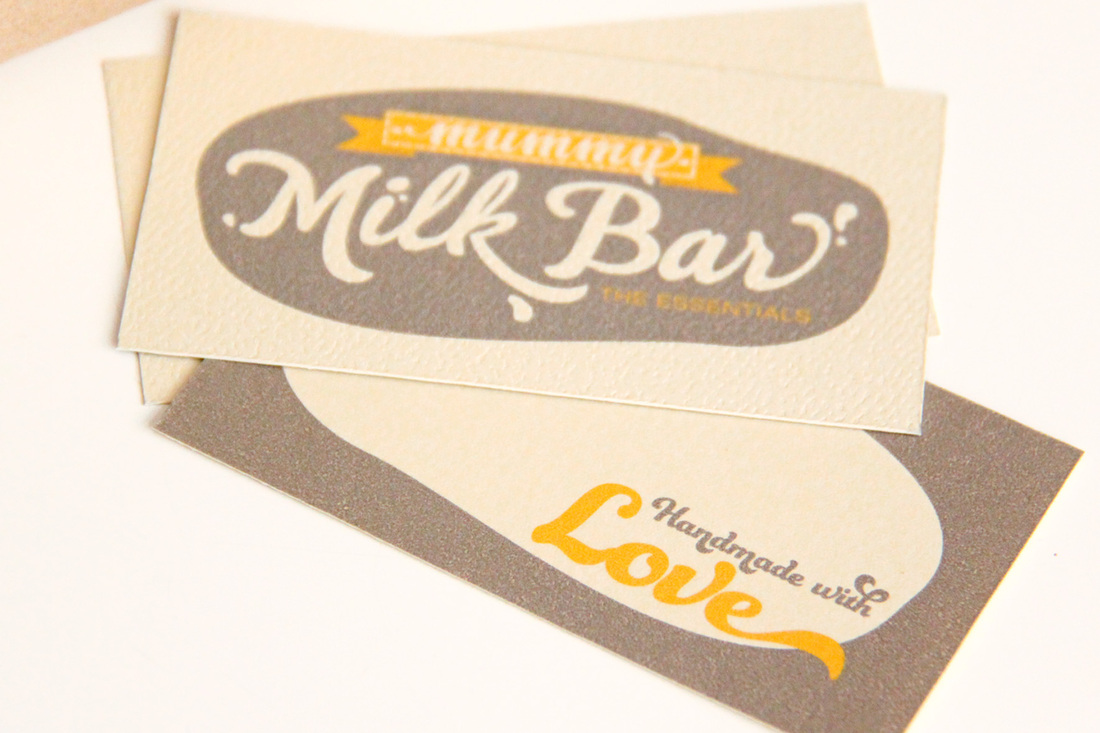
When you purchase the 'Mummy Milk Bar' Bundle, you will also receive FREE PRINTABLE tags to print off at home (suitable for US letter and A4)... whether you are giving your creations as a baby shower/newborn gift or selling as a gift set, these tags will make the perfect finishing touch to an already beautiful package!
 |  |
SO... LET'S GET STARTED!
WHAT YOU'LL NEED:
The 'Mummy Milk Bar' Essentials Bundle
Main Fabric
Cotton (woven or knit), Flannel
Backing Fabric
Something 'thirsty'! French Terry, Towelling, Bamboo Terry or Fleece
(I chopped up an old thick bath towel)
Bib Fastenings (per bib)
2x full sets of snaps/press studs
OR velcro (The pre cut adheisive dots are perfect!)
FABRIC REQUIREMENTS (x2 – MAIN + BACKING):
Drooler Bib – 50cm x 30cm
Dribbler Bib – 25cm x 30cm
Burp Cloth – 60cm x 30cm
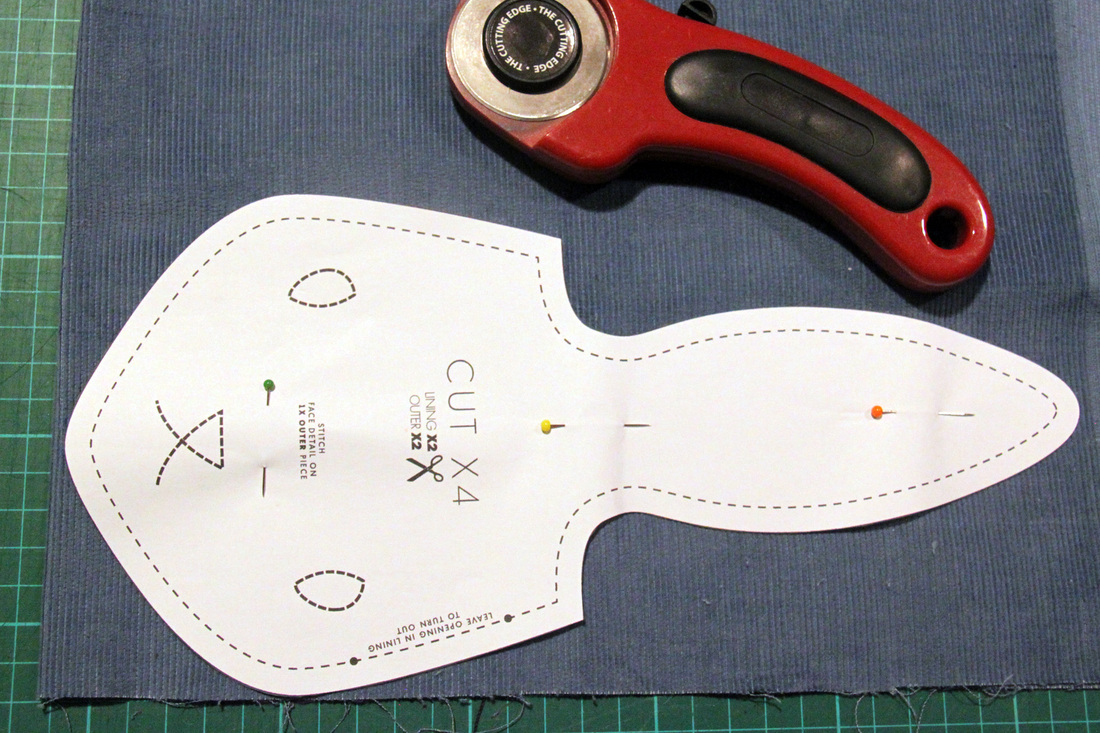
PRINT + PREPARE THE PATTERN PIECES
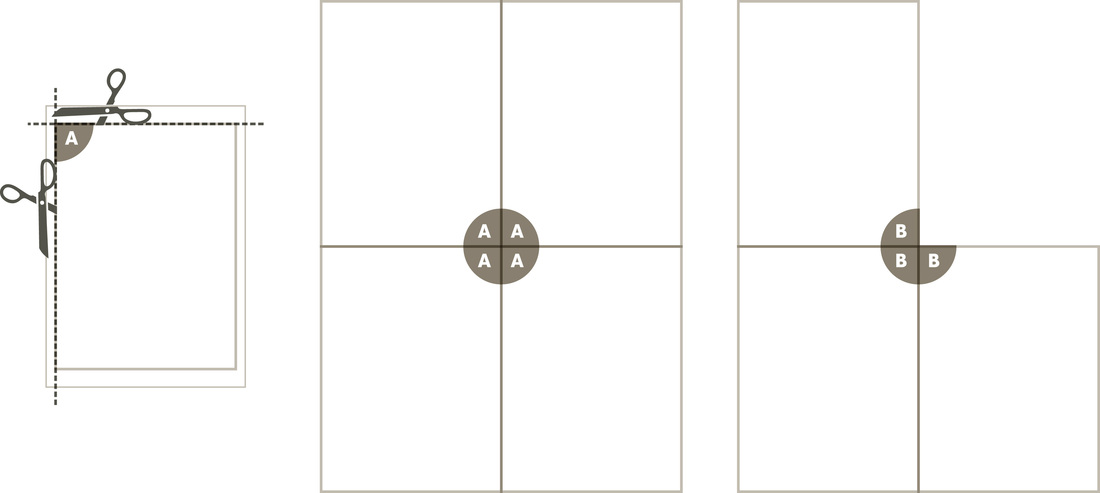
Print the pattern pieces at ACTUAL SIZE (100%) – DO NOT scale.
Trim along the two edges where the wedge marker is sitting.
Join the pages together matching the letter wedges.
Trim along the two edges where the wedge marker is sitting.
Join the pages together matching the letter wedges.
RAW OR FINISHED?
There are TWO options for finishing your bibs and cloths:
Traditionally – using a sewing machine:
with RIGHT sides facing – sew, turn and topstitch.
OR
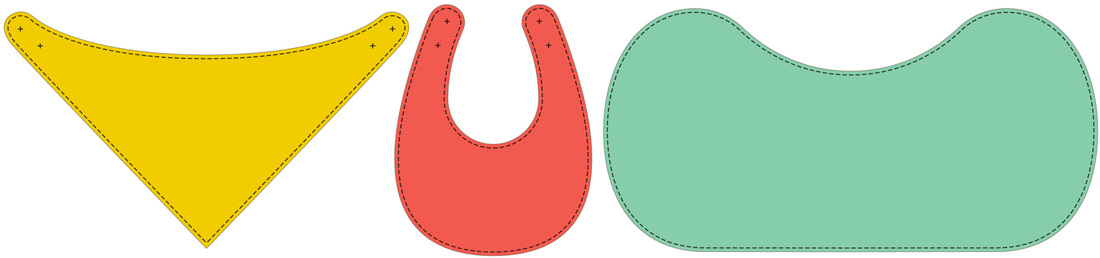
Alternatively – the super quick, super easy but also very effective method of using a 4 thread overlocker/serger:
with WRONG sides facing, overlock the edges together – keeping the raw edge.
(Use a coloured overlocker thread to make for an even greater visually appealing finish!)
Traditionally – using a sewing machine:
with RIGHT sides facing – sew, turn and topstitch.
OR
Alternatively – the super quick, super easy but also very effective method of using a 4 thread overlocker/serger:
with WRONG sides facing, overlock the edges together – keeping the raw edge.
(Use a coloured overlocker thread to make for an even greater visually appealing finish!)
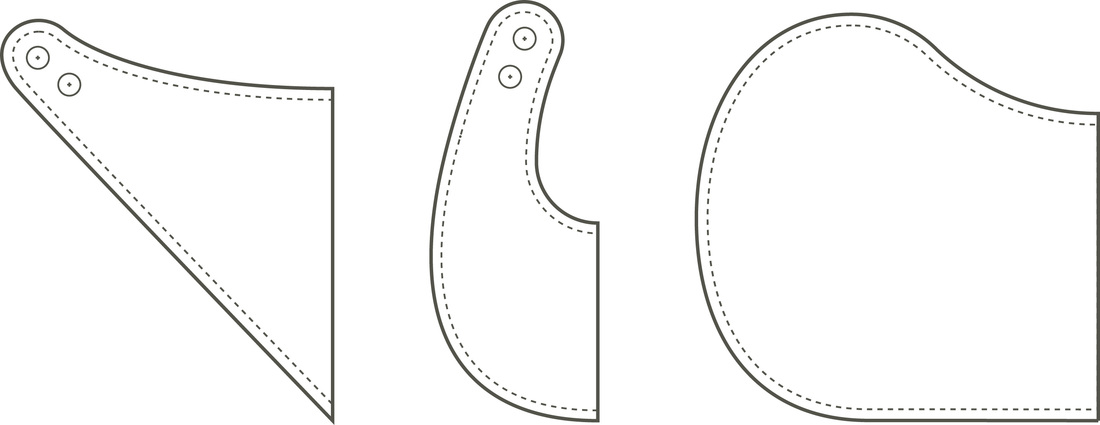
TRADITIONAL METHOD
(with seam allowance)
Cut along the SOLID line for a 0.7cm (2/8") seam allowance on the pattern pieces.
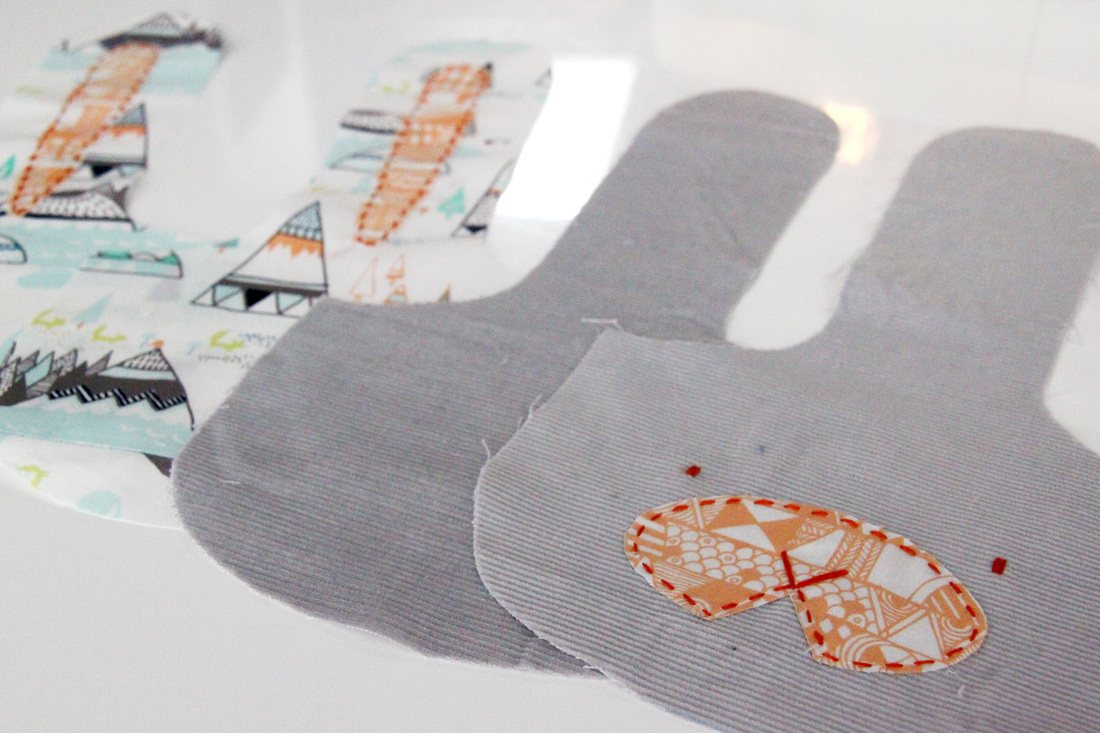
Lay the pattern pieces onto the fabric, making sure the grain line arrow is parallel to the selvedge and the fold lines are sitting on the fold of the fabric.
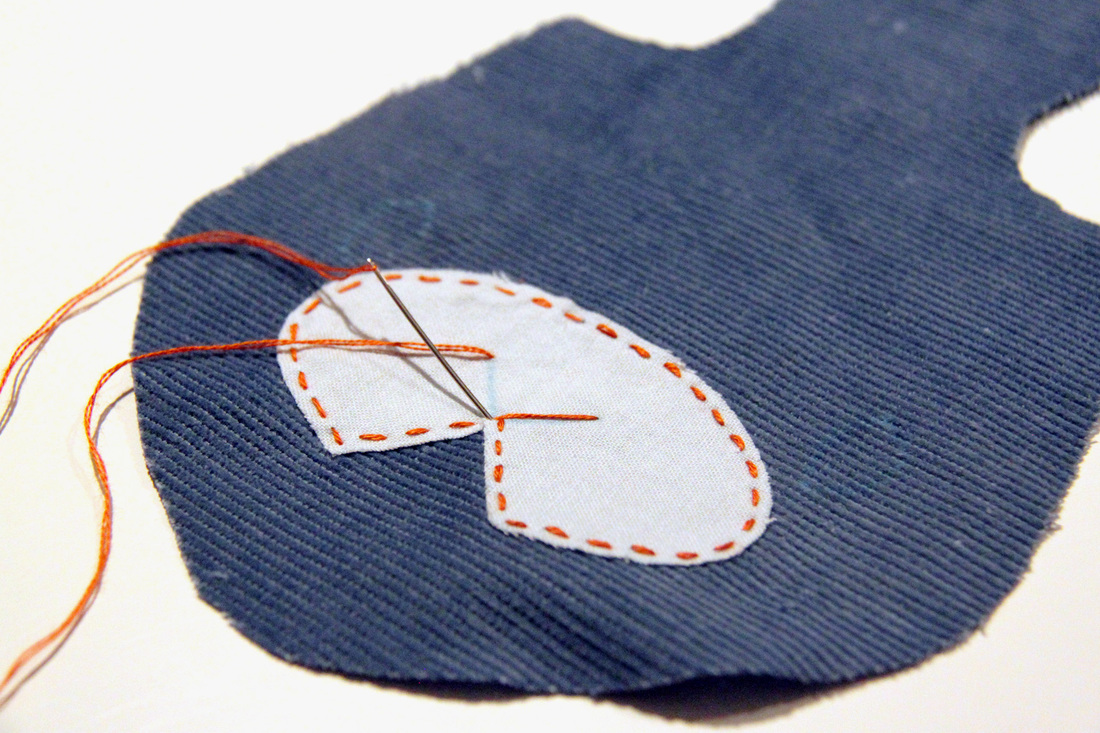
Trace the pattern pieces and transfer any markings (snap/velcro placement and stop/start seam markers) and cut out the fabric.
Lay the pattern pieces onto the fabric, making sure the grain line arrow is parallel to the selvedge and the fold lines are sitting on the fold of the fabric.
Trace the pattern pieces and transfer any markings (snap/velcro placement and stop/start seam markers) and cut out the fabric.
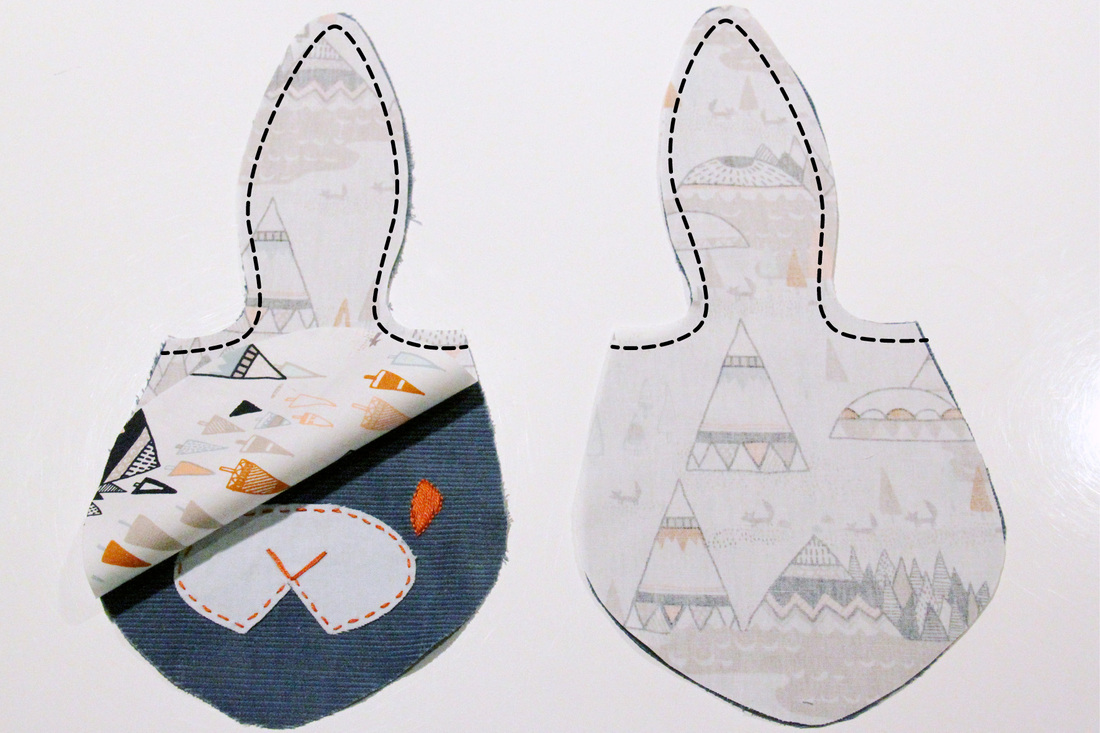
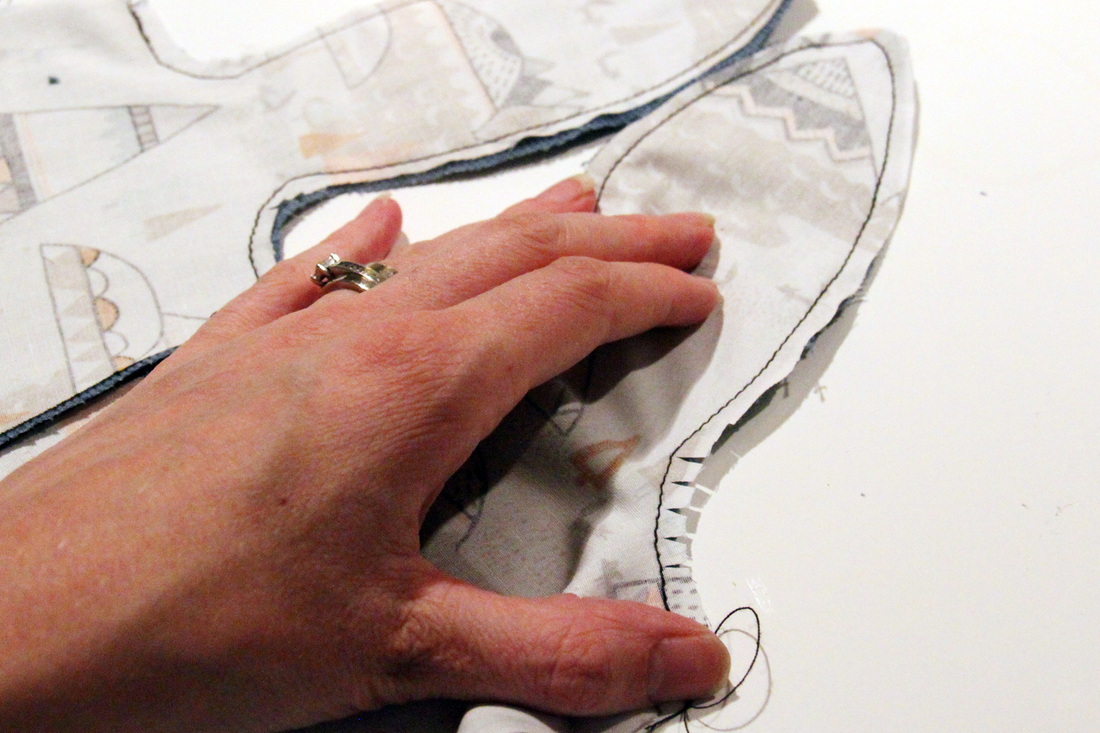
| With RIGHT sides of the main and backing fabric together (WRONG sides facing out), sew along the edge leaving an opening between the two markers you transferred from the pattern piece(s). | Clip inner curves and cut small wedges into outer curves (or use pinking shears) being careful not to snip through the stitches. |
 |  |
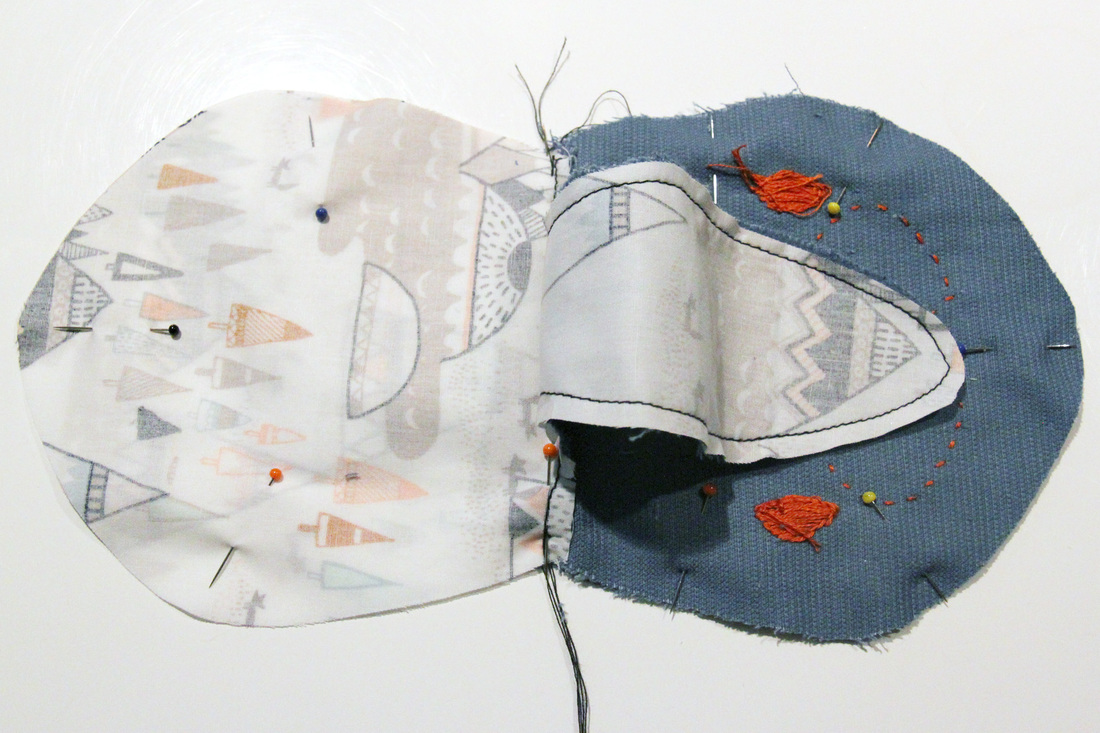
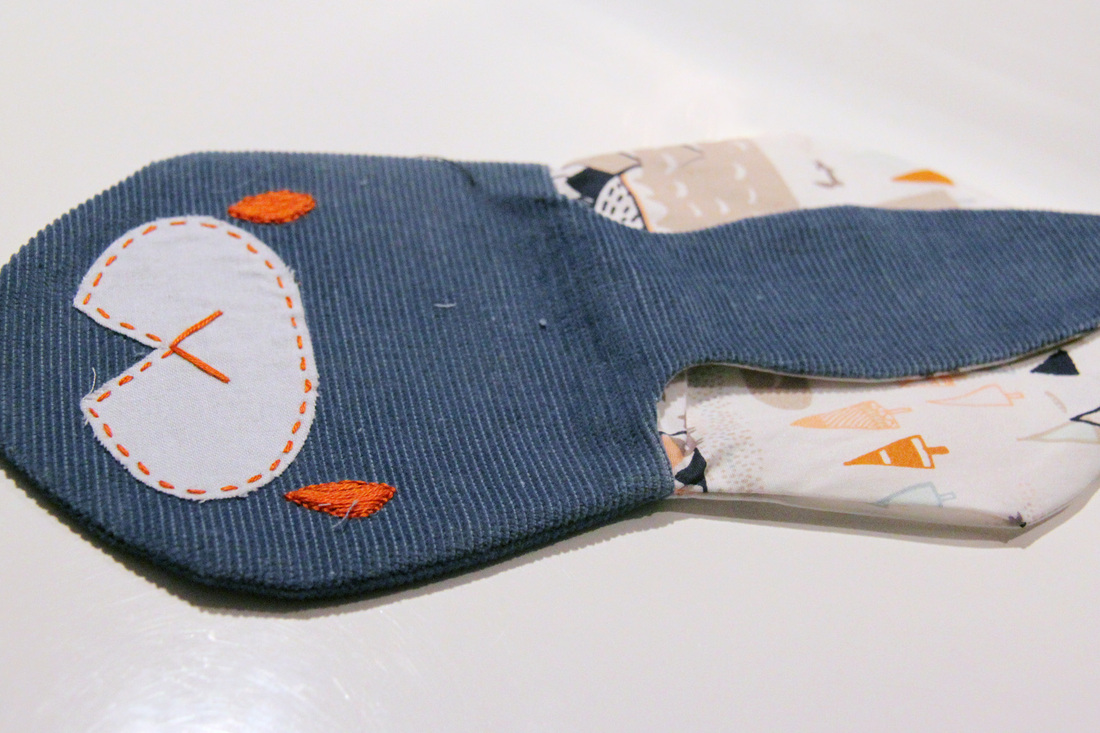
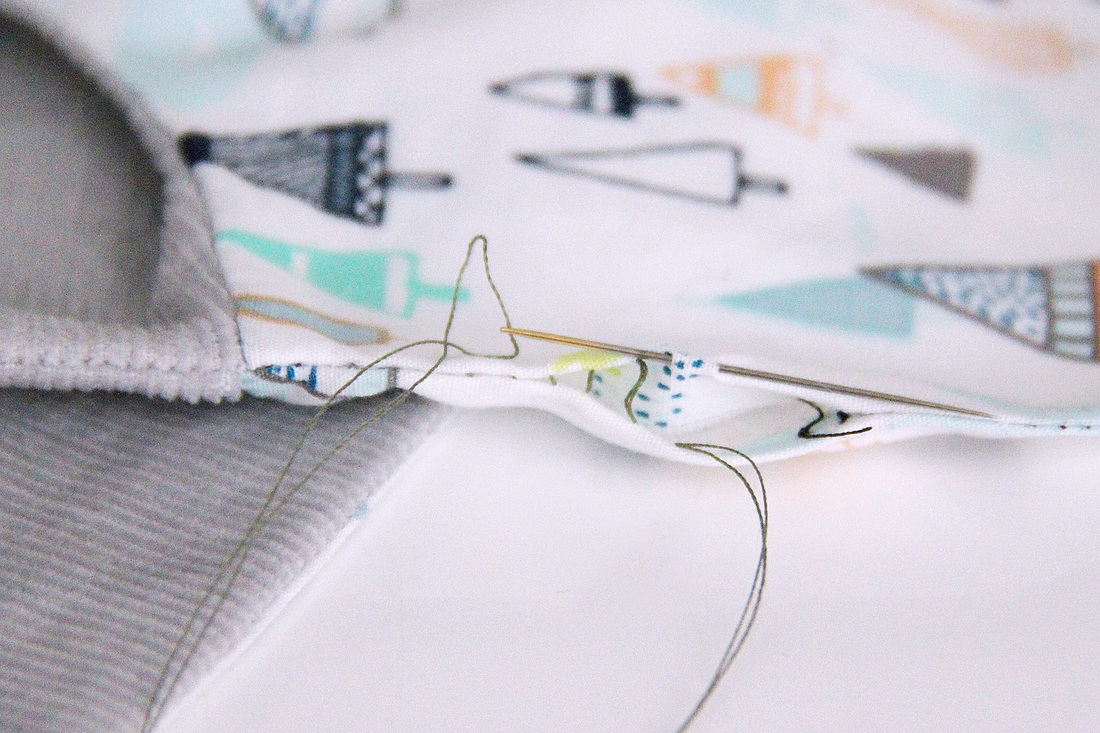
Turn the bib/burp cloth right side out through the small opening. Smooth out and press along the seam.
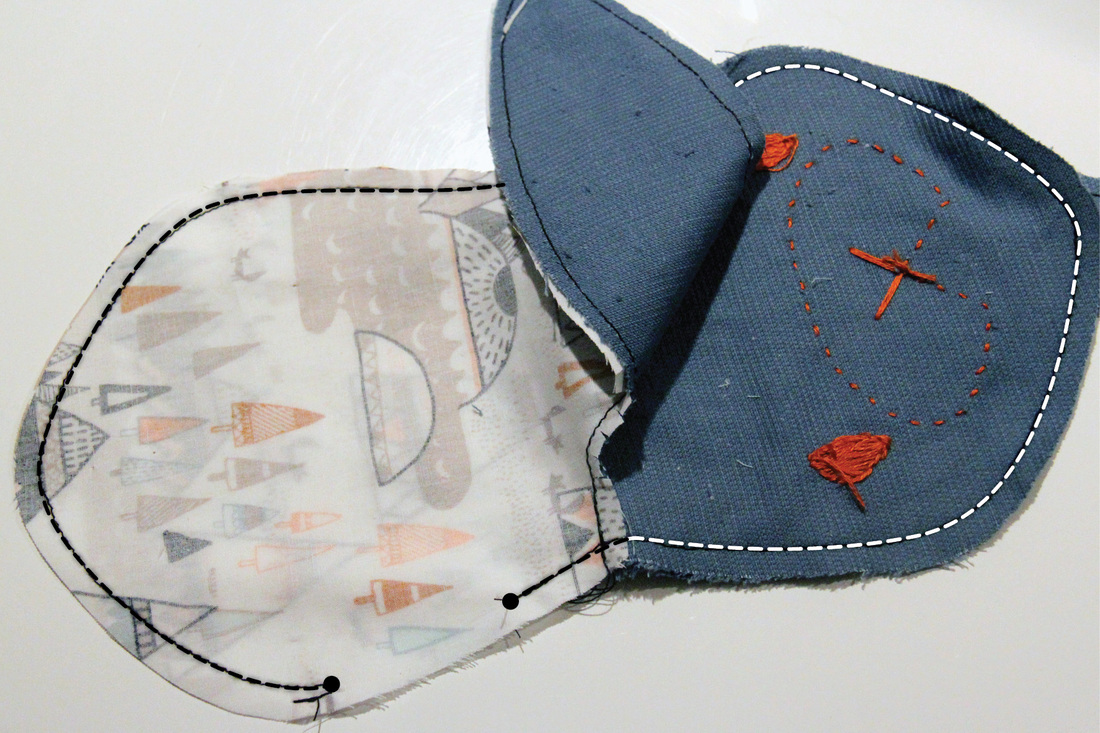
Topstitch all the way around approx. 0.4cm (1/8") from the edge – closing the opening.
Topstitch all the way around approx. 0.4cm (1/8") from the edge – closing the opening.
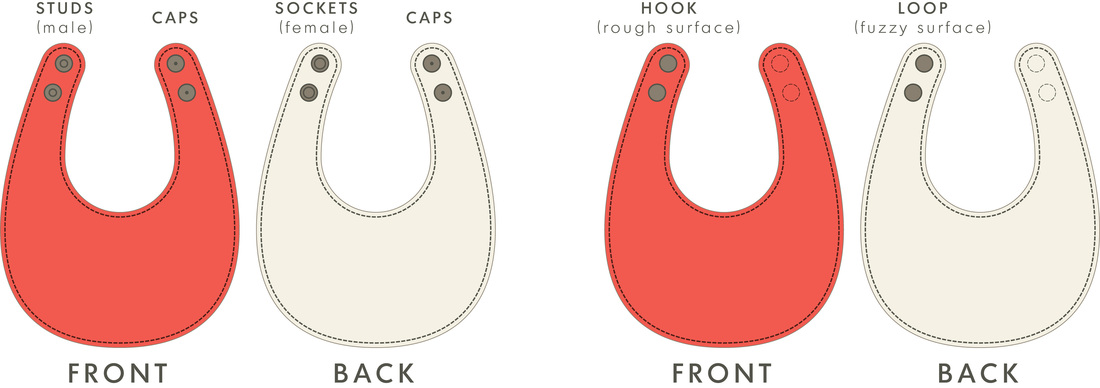
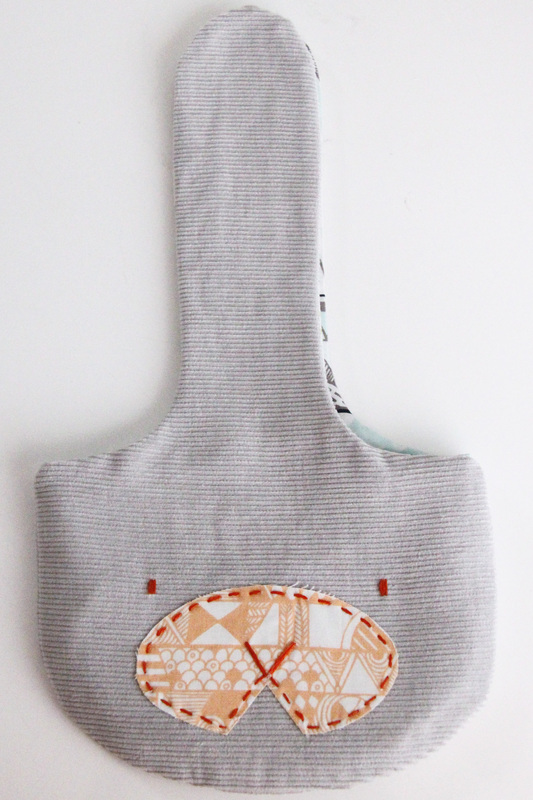
Apply the snaps/press studs/velcro using the placement markers from the pattern pieces as a guide.
| STUDS + PRESS STUDS Apply the (male) studs to one side of the FRONT of the bib and the (female) sockets to the opposite side of the BACK of the bib. | VELCRO Depending on the size of the velcro (dots), apply one or two pieces of the (rough) hook piece to one side of the FRONT of the bib and the (fluffy) loop piece to the opposite side of the BACK of the bib. |
ALTERNATE METHOD
(finishing the raw edge with an overlocker/serger)
Cut along the DOTTED line for NO seam allowance on the pattern pieces.
Lay the pattern pieces onto the fabric, making sure the grain line arrow is parallel to the selvedge and the fold lines are sitting on the fold of the fabric.
Trace the pattern pieces and transfer any markings (snap/velcro placement and stop/start seam markers) and cut out the fabric.
Lay the pattern pieces onto the fabric, making sure the grain line arrow is parallel to the selvedge and the fold lines are sitting on the fold of the fabric.
Trace the pattern pieces and transfer any markings (snap/velcro placement and stop/start seam markers) and cut out the fabric.
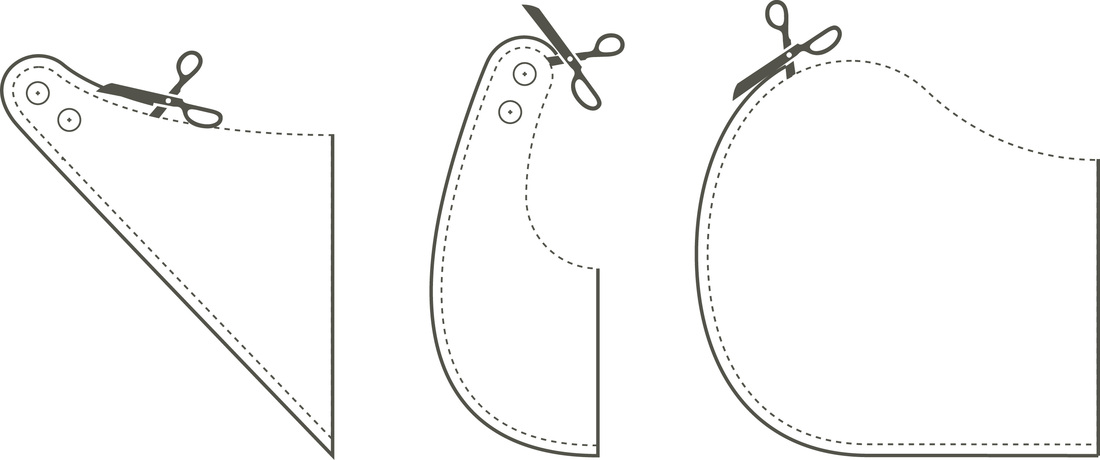
DISENGAGE THE CUTTING BLADE ON YOUR OVERLOCKER/SERGER!
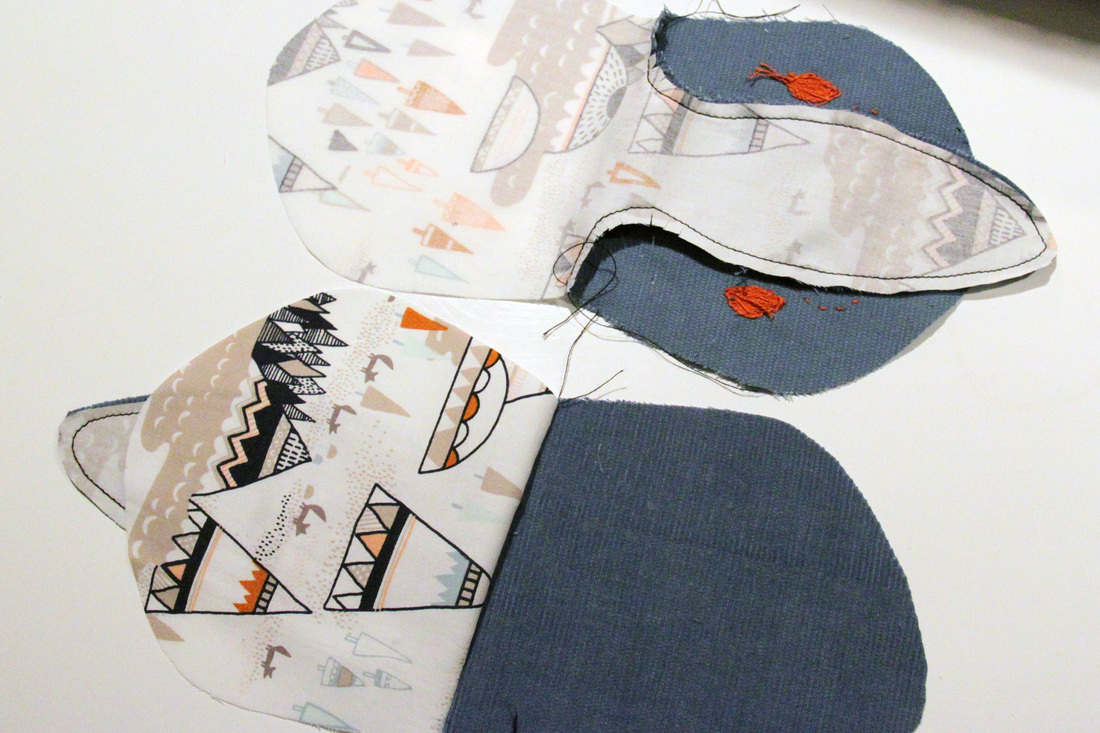
With WRONG sides of the main and backing fabric together (RIGHT sides facing out), sew along the edge, using the two markers you transferred from the pattern piece(s) as the starting point.
Take the following steps SLOWLY + CAREFULLY
Lift the presser foot and gently rotate the fabric manually through the feed dogs around the tight curves.
For the point on the DROOLER bib, sew all the way up to the point, then lift the presser foot and gently lift and pull the fabric and thread off the 'teeth' on the base plate (without pulling the threads or creating any slack).
Rotate (swivel) the point and place it back in position under the presser foot. Continue sewing.
Before you sew back over the starting point, trim the starting threads off – then sew an inch or two over the starting point. Before trimming back the finishing threads, pull on the lower looper threads to 'lock' the seam.
TIP – If you have fold over fabric labels, sew your label to the bib/cloth over the start/finish point of the seam to conceal it.
Apply the snaps/press studs/velcro in the same way as instructed for the traditional method.
Apply the snaps/press studs/velcro in the same way as instructed for the traditional method.
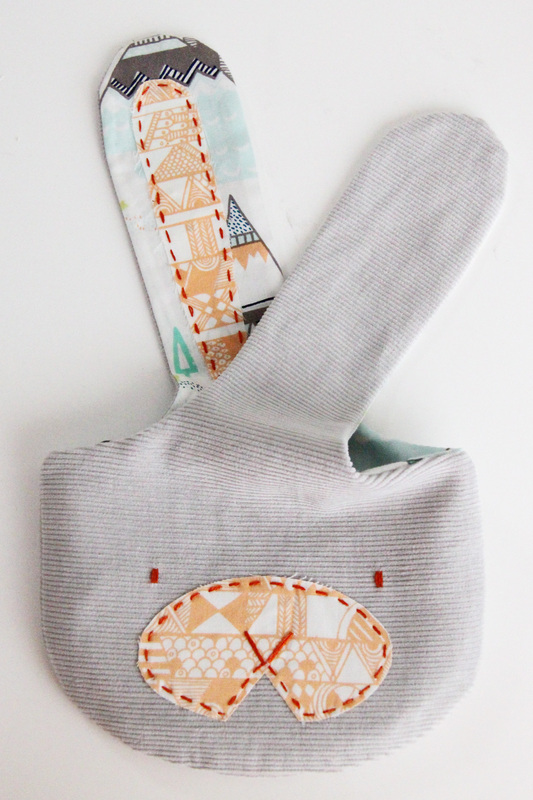
AND VOILA – YOU'RE DONE!
Happy Sewing x


 RSS Feed
